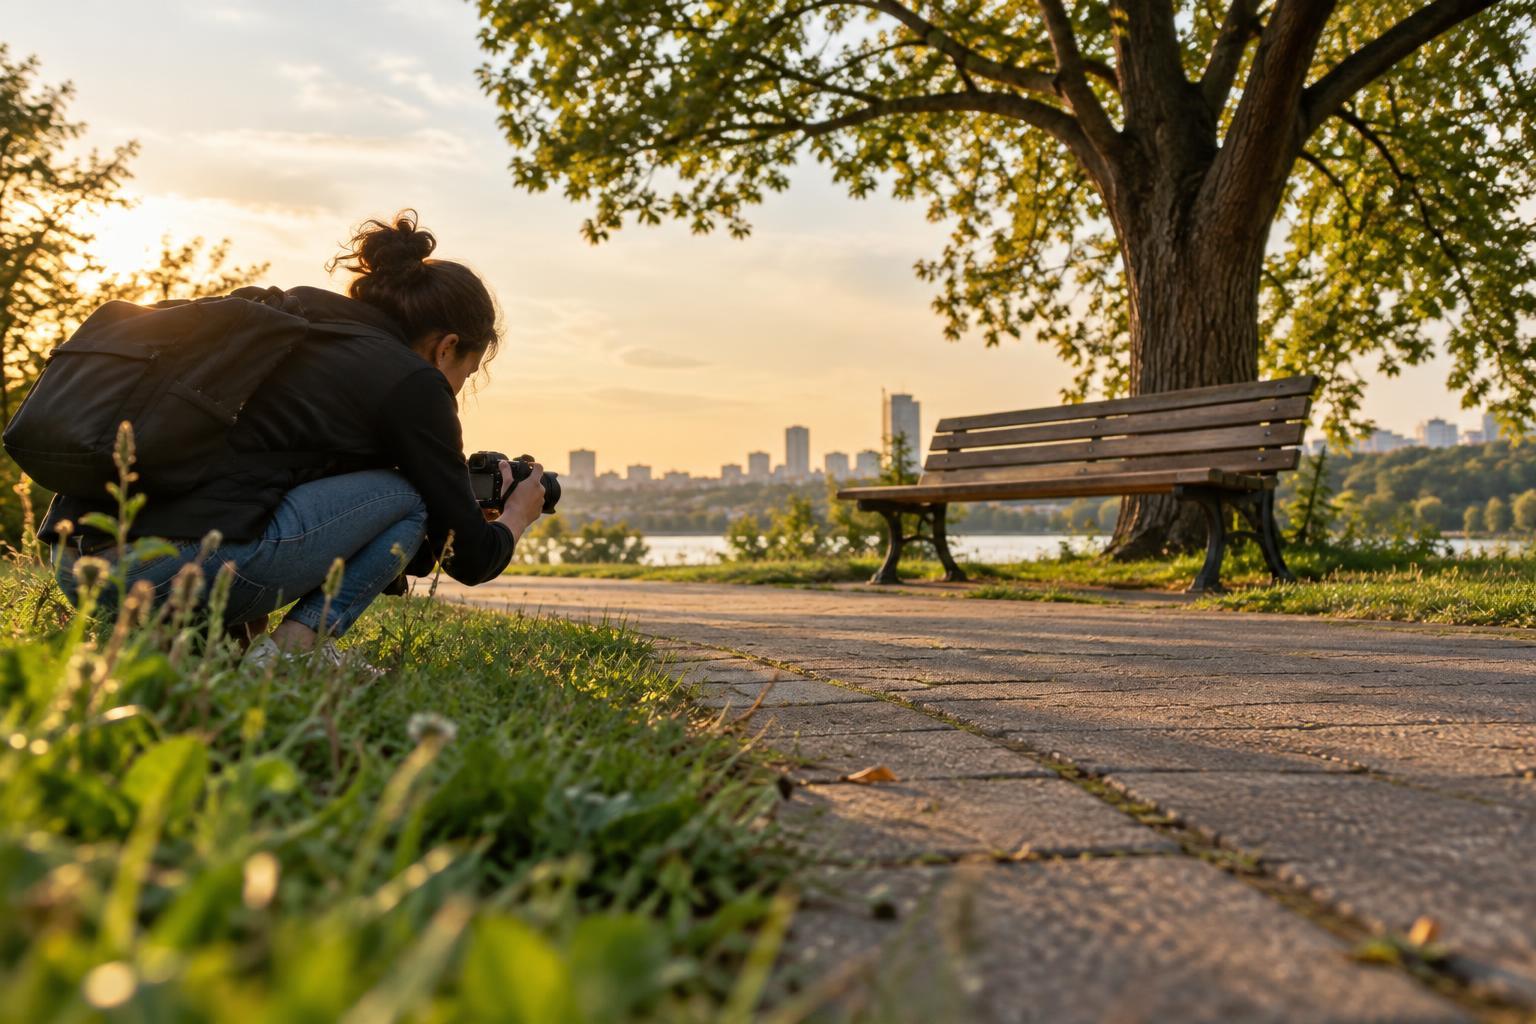
Viewpoint is more than a camera setting
Camera height is where the camera sits above the ground; camera angle is the direction it points. Together with your position relative to the subject, they determine what overlaps, what remains visible, and which parts of a scene appear prominent. A portrait made at a person’s eye level can feel different from one made while the photographer stands on a chair, even if the person does not move.
It helps to distinguish moving the camera from merely tilting it. Raising the camera and pointing down reveals more of the ground behind a subject. Tilting down from the same position changes the framing but cannot reveal the same hidden surfaces. Moving closer or farther away also changes the relative size of near and distant objects. Before reaching for a different lens, take a step and see what a new position does.
What low and high positions reveal
A low viewpoint can place a subject against sky, a wall, or another distant background rather than against a busy floor. It may make a nearby person or object appear more imposing, particularly when you work close to it. But it can also hide useful context behind the foreground. Watch the edges of the frame: a sign, hand, or tree branch that was separate at standing height may merge awkwardly with the subject when you crouch.
A high viewpoint often shows the layout of a space: paths, tabletops, groups, or the relationship between objects on the ground. Looking down can make patterns easier to read and reduce the visual weight of a cluttered horizon. It may also make a person appear small within their surroundings. Neither position has a fixed meaning. Distance, expression, light, and surrounding details all contribute to how the photograph feels.
Angle changes shape, lines, and backgrounds
When you point the camera steeply upward or downward, lines that are parallel in the scene may appear to converge in the photograph. This can add energy, but it may also distract from a subject if a building seems to lean unintentionally. For a more neutral view of a wall or facade, try keeping the camera level and changing your position or framing instead. You can decide later whether the extra foreground or empty space serves the picture.
Small sideways moves can matter as much as dramatic changes in height. Shift left or right to separate a face from a bright patch, place a subject between background elements, or show that two people occupy different distances from the camera. Check for visual collisions, such as a pole appearing to grow from someone’s head. These decisions do not require a perfect setting; they require attention to the entire frame, not only its center.
Choose a viewpoint that fits the story
In visual storytelling, viewpoint guides interpretation. Photographing an activity from the height of the people doing it can help viewers notice gestures and interactions. Stepping back and rising slightly may better explain how that activity fits into a larger space. A detail from close range can show texture or effort, but it cannot, by itself, describe the whole setting. Ask what the image needs to communicate before deciding which view is most useful.
Be especially careful when viewpoint changes the apparent power or scale of a person. A low angle might be an intentional expressive choice; it might also exaggerate authority that the scene does not support. A high angle may clarify a crowded location while diminishing an individual’s presence. For documentary work, consider making both a contextual frame and a closer frame when circumstances allow, and avoid treating either as a complete account on its own.
A simple exercise for seeing the difference
Choose a stationary subject in a place where you can move safely. Make one frame at eye level, one from a lower position, and one from a higher position. Keep the subject in roughly the same part of the frame, then repeat the sequence while moving a little closer or farther away. You do not need identical compositions: the differences are the point.
Compare the results without judging only which looks most dramatic. Note what appears behind the subject, which surfaces become visible, where lines meet, and whether the scene’s relationships are easier or harder to understand. Finally, write a one-sentence purpose for the picture and choose the viewpoint that best supports it. Repeating this exercise with people, objects, and spaces builds a useful habit: move first, then decide what to include.


