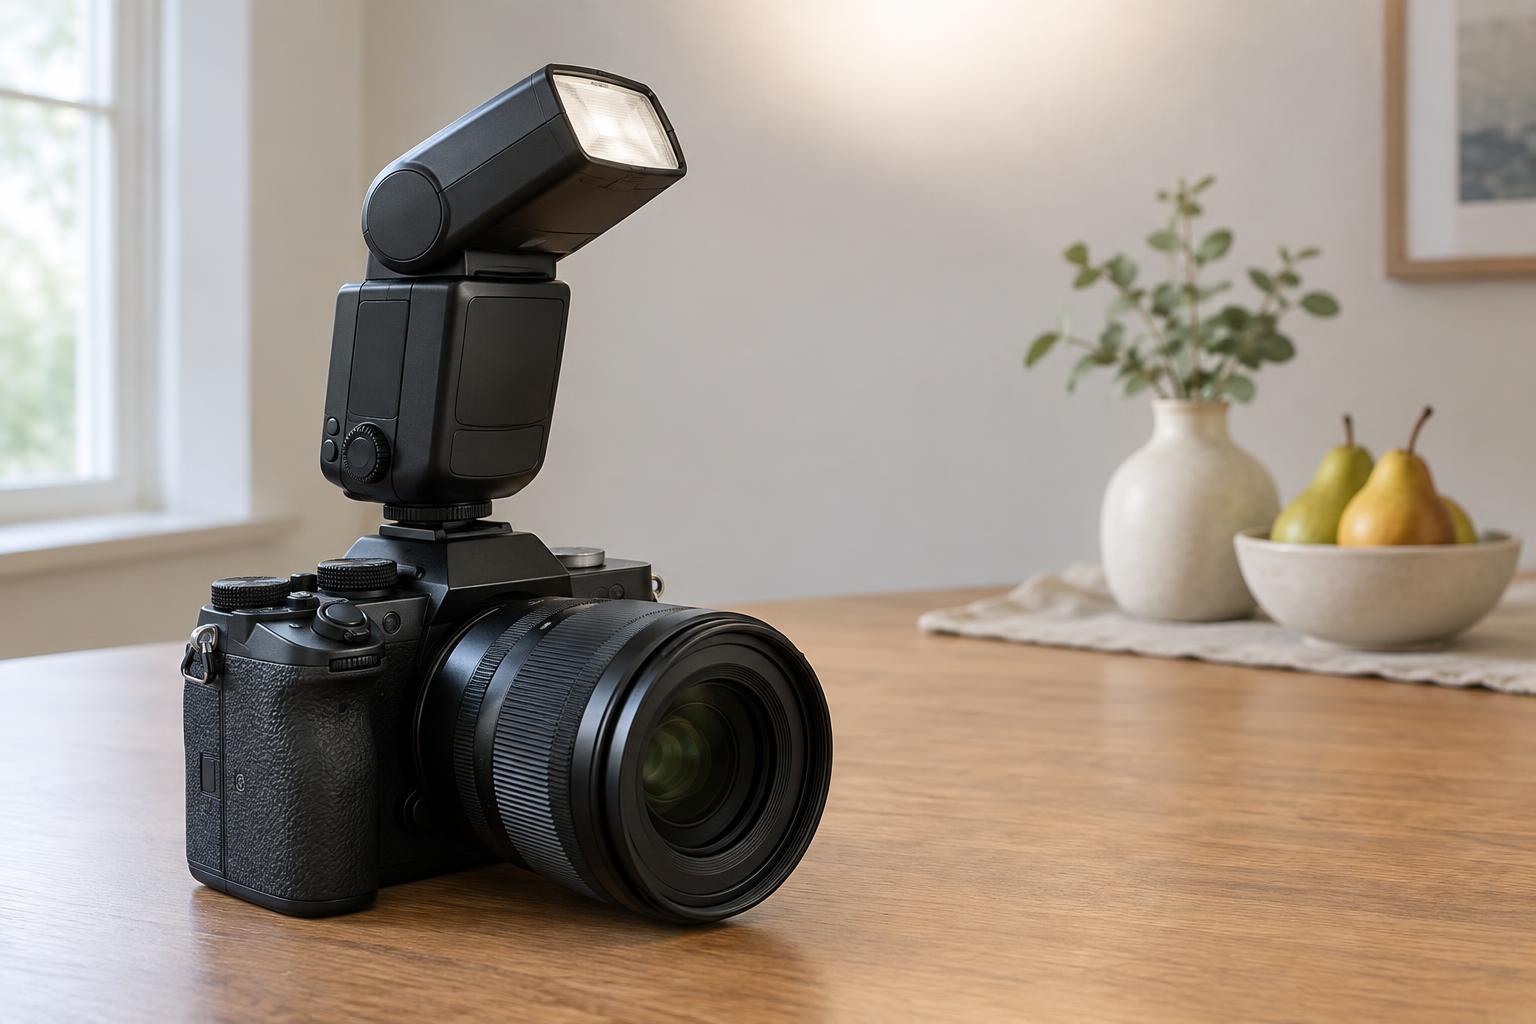
What a hot-shoe flash controls
A hot-shoe flash is a small light mounted on a camera’s accessory shoe. Unlike a continuous lamp, it produces a brief burst during the exposure. That burst can illuminate a subject in low light, fill shadows in daylight or add direction to otherwise flat lighting. Its effect depends not only on flash power but also on the light already in the scene.
It helps to think of an image as having two contributions: ambient light and flash light. Shutter speed is often the easiest way to change how bright the ambient background looks while staying within normal flash sync limits. Aperture and ISO affect both ambient and flash exposure. Flash power, flash-to-subject distance and the direction of the flash change how much light reaches the subject.
TTL: a quick starting point
TTL stands for through-the-lens metering. With a compatible camera and flash, the system measures a preliminary flash and chooses an output for the exposure. This is useful when subjects move, distances change or there is little time to adjust power between frames. It is an automatic starting point, not a guarantee that every photograph will have the brightness you want.
A very light or dark subject, a reflective surface or a change in framing can influence the camera’s calculation. If TTL repeatedly makes the flashed subject too bright or too dark, use flash exposure compensation to request less or more flash. Take a test frame and inspect the subject rather than relying on the number alone. Remember that camera exposure compensation and flash exposure compensation may affect different parts of the image, depending on the camera’s settings.
Manual power: repeatable light
In manual mode, you set the flash output yourself, commonly as a fraction of full power. The flash then uses that setting until you change it. Manual power is helpful when the subject, flash and camera remain in roughly the same positions: once you have the light you want, the output will not shift just because the background or framing changes.
Start at a moderate power setting, make a test frame and adjust in small steps. If the subject moves farther from the flash, less of its light reaches them; moving the flash closer has the opposite effect. Aperture and ISO offer other ways to change subject brightness, though they also change the recorded ambient light. Manual flash takes more attention when distances vary, so there is no need to treat it as a superior choice for every situation.
Why sync speed matters
Many cameras use a focal-plane shutter with curtains that travel across the sensor. At shutter speeds up to the camera’s normal flash sync speed, the sensor can be fully uncovered when a standard flash fires. At faster speeds, a moving slit may expose the sensor instead. A single ordinary flash burst can then light only part of the frame, leaving a dark band.
Check your camera’s specified sync speed rather than assuming one value applies to all models. High-speed sync, when supported by both camera and flash, can enable flash at faster shutter speeds by emitting light over a longer interval. It generally reduces the flash’s effective reach, so a brighter outdoor scene may still call for moving the flash closer or reconsidering the aperture. Some electronic shutter modes restrict flash use; check the camera’s settings if the flash will not fire.
A simple first-frame workflow
Begin with the flash attached securely and a subject at a comfortable working distance. Set a shutter speed at or below your camera’s normal sync speed, then choose an aperture and ISO that give the background a brightness you like. Try TTL if the distance may change, or manual power if the setup will stay put. Make one frame and evaluate the background and flashed subject separately.
If the background is too dark, slow the shutter while watching for camera shake or subject movement. If the flashed subject is too bright, lower manual power or apply negative flash exposure compensation in TTL. When possible, aim a compatible flash at a nearby neutral-colored ceiling or wall to bounce its light and create a broader, softer-looking source. Bounce is less effective when the surface is distant or strongly colored. Change one setting at a time so each test frame teaches you what that control does.


