Start with the claim, not the contrast
A before-and-after pair invites a quick conclusion: something improved, deteriorated, disappeared or grew. But the two photographs may differ in more ways than the thing they claim to show. Camera position, framing, light and timing can each change the appearance of a scene. Before judging the result, put the claim into words. Are the images meant to show a change in size, color, condition, activity or mood? Then ask whether both photos give you a fair view of that particular feature.
Treat the pair as two observations, not a complete record of what happened between them. A visible difference is worth noticing, but it does not automatically establish its cause. You can often make a useful assessment without knowing who took the pictures: identify what is clearly visible, what might be affected by photographic choices and what the images alone cannot settle.
Compare viewpoint and framing
Look first for stable reference points such as corners, doorways, road markings or the edges of a fixed object. If those points shift relative to one another, the camera may have moved or changed height. A step to the side can reveal an area that was hidden in the first image; a lower angle can make a foreground object appear larger against its background. The effect may be especially important when the claimed change concerns depth, distance or size.
Next, compare how much of the scene appears in each frame. A tighter crop can remove clutter, damage or nearby objects that would help you judge scale. A wider view can make the main subject seem smaller. Different focal lengths can also change the relative prominence of foreground and background when the photographer changes position to keep the subject similarly sized. If you can, mentally align fixed features rather than assuming that two centered subjects were photographed from the same spot.
These checks do not mean that differently framed photos are useless. They mean you should narrow your conclusion. If the same mark is visible on a wall in both images, you may be able to compare that mark even when the wider scenes differ. You may not, however, be able to judge the condition of everything outside the shared area.
Separate changes in light from changes in the subject
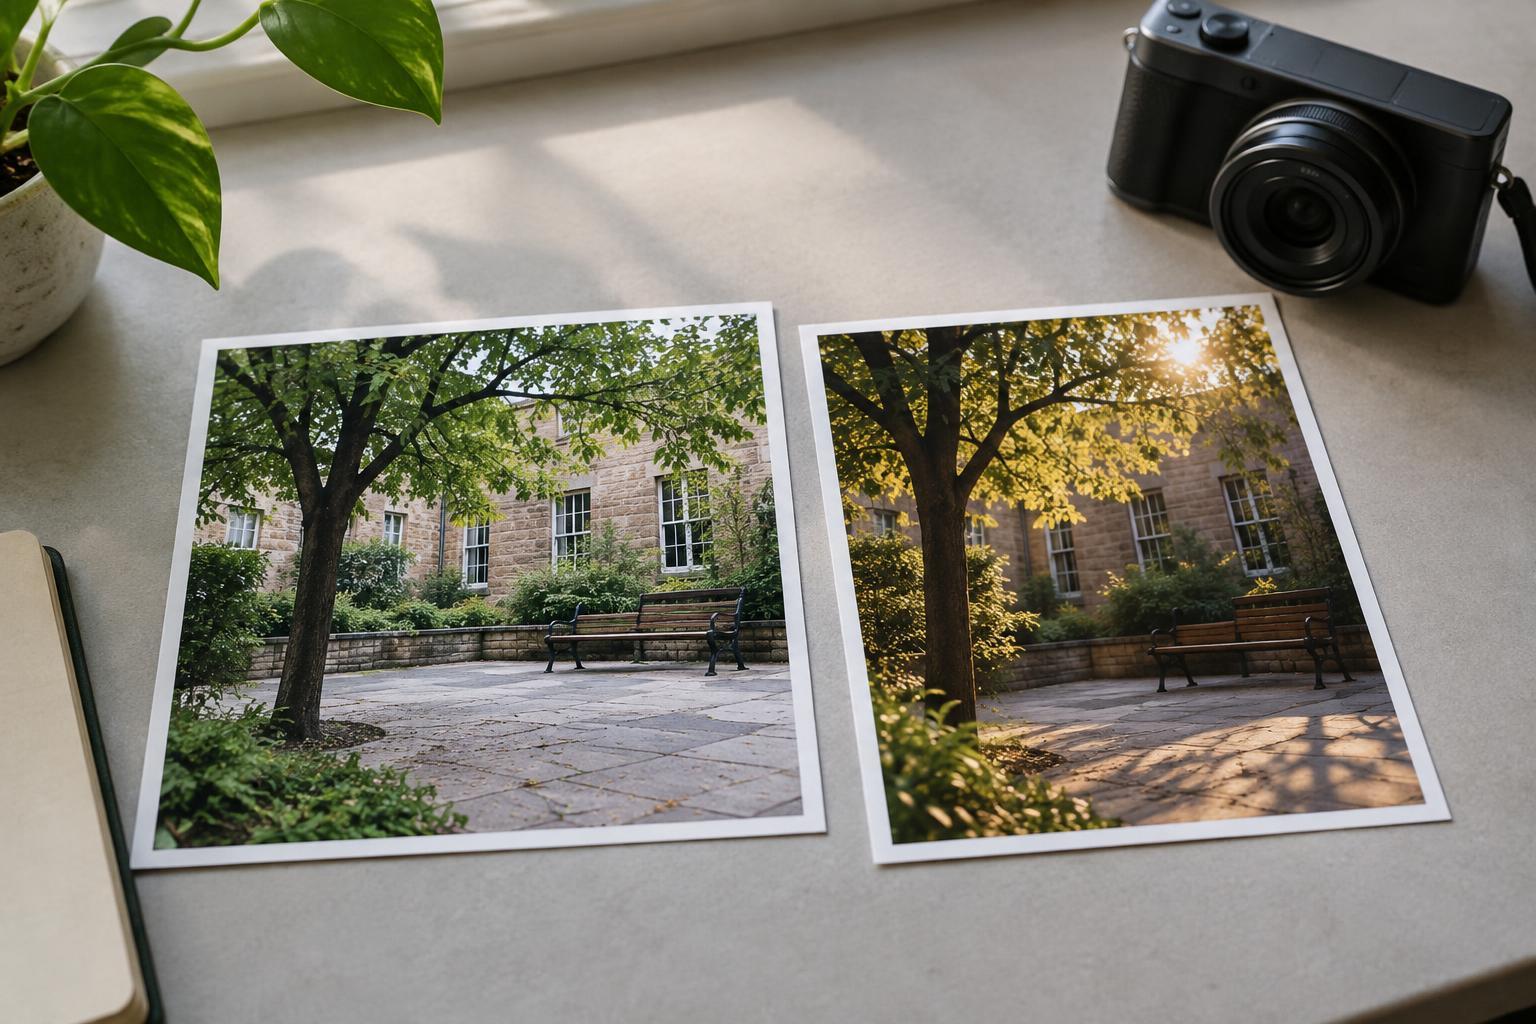
Light affects color, texture and apparent depth. Direct sunlight can emphasize surface detail through strong shadows, while diffuse light can make the same surface look smoother. A shadow may conceal a feature in one photo and expose it in another. Interior lighting, window light and camera flash can produce noticeably different appearances without any physical change to the subject.
Check the direction and length of shadows, bright reflections, and whether one image has much darker or brighter areas. White balance and exposure can also influence how colors look: a warm-toned image may make a surface appear different from the same surface under cooler light. If color or texture is central to the claim, seek comparable illumination before treating a visual difference as evidence of a material one. If comparable lighting is unavailable, describe the difference as apparent rather than certain.
Ask when each moment was captured
Timing matters even when the photographer stands in exactly the same place. A room photographed before it is occupied and again while people are using it may look substantially different. Weather, seasonal growth, temporary objects and routine activity can change a scene without representing a lasting transformation. A single frame also cannot show whether a condition persisted before or after the shutter was pressed.
Read any stated sequence carefully, but do not assume that a label such as “before” or “after” tells you the interval between pictures or everything that happened during it. Look for clues within the images, such as shadows, clothing, vegetation or movable objects, while remembering that these clues rarely establish an exact time by themselves. When the dates or circumstances are unknown, the most defensible conclusion may be that the pictures show two different moments, not a verified account of a process.
Make a conclusion that fits the evidence
Use a short comparison routine before sharing or describing the pair. First, name the specific feature being compared. Second, check whether fixed landmarks and framing line up. Third, look for lighting differences that could affect the feature. Fourth, consider whether timing or temporary conditions could explain part of what you see. Finally, note any missing context, such as an unseen area or an unknown interval.
Phrase your conclusion at the level the photographs support. “The visible area looks cleaner in the second image” is more precise than “the site was restored” if the pair does not show the whole site or establish what caused the change. Careful viewing does not require dismissing every before-and-after comparison. It helps you recognize genuine visible differences while keeping photographic choices and unanswered questions in view.