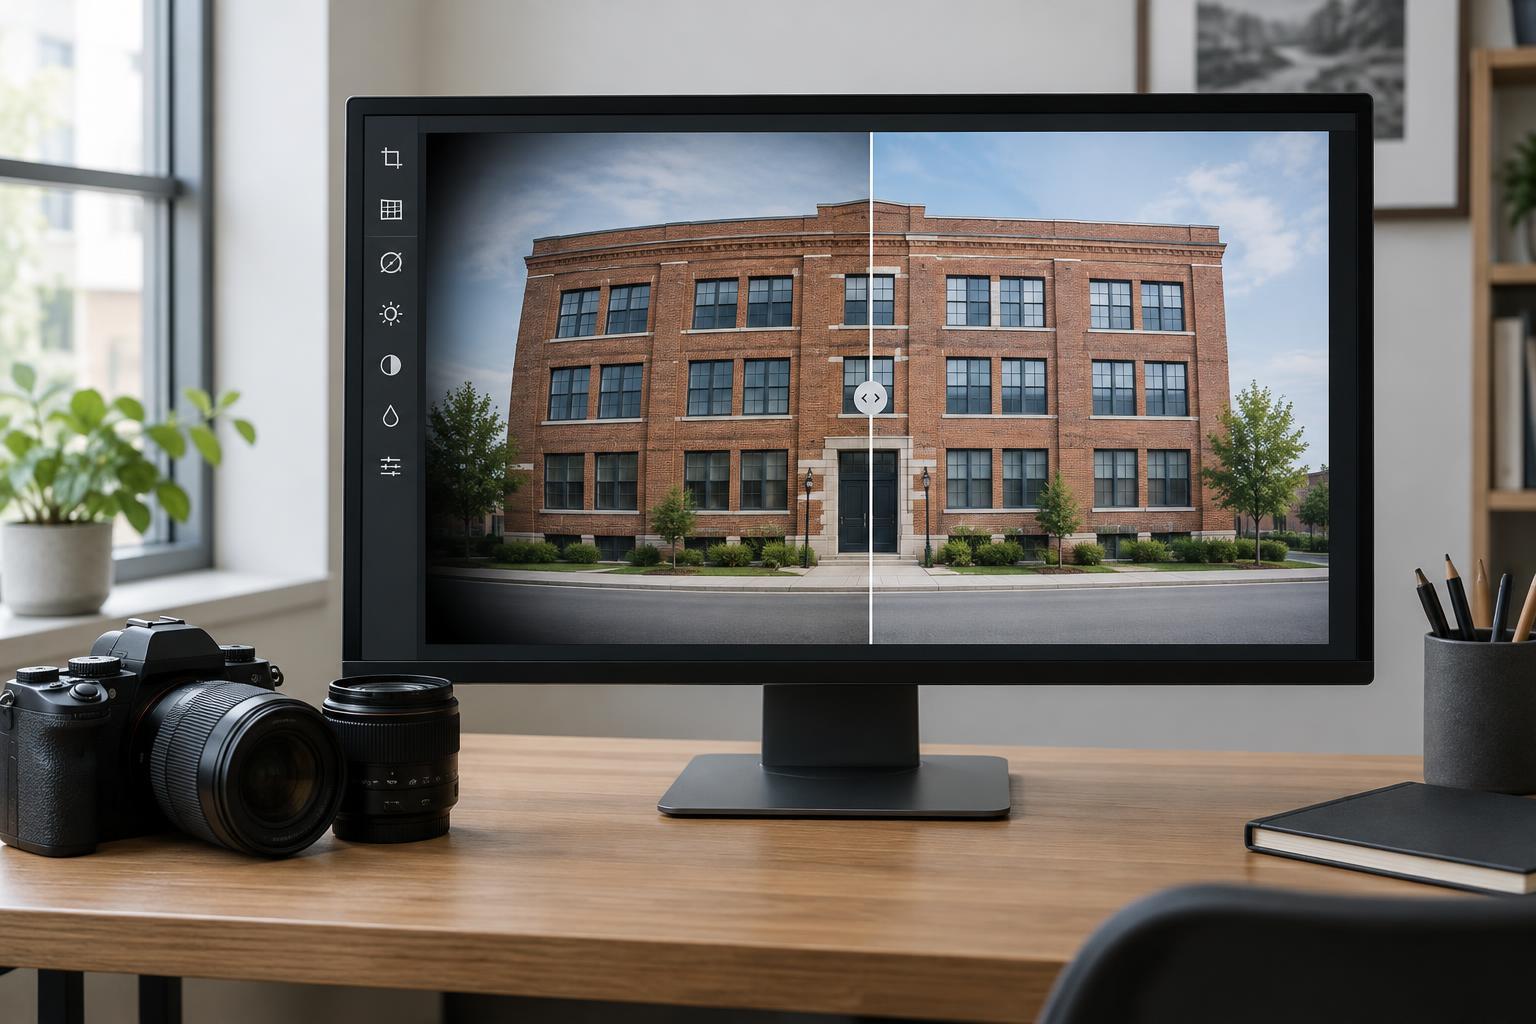
Identify what needs correcting
Lens distortion changes the apparent shape of a scene. With barrel distortion, straight lines near the edges of the frame bow outward; with pincushion distortion, they bend inward. These effects are often easiest to see in architecture, horizons or other scenes with clear straight lines. They may be barely noticeable in a portrait or a photograph of an irregular landscape.
Vignetting is a gradual darkening toward the corners of an image. It can come from the lens, accessories that block some light, or an edit that adds a dark border. Before removing it, ask whether it draws attention away from the subject or helps keep attention on the center. A correction should serve the photograph rather than make every corner equally bright by default.
Also check what is not a lens defect. A building that appears to lean because the camera was tilted needs perspective adjustment, not just distortion correction. A dark corner caused by a nearby object blocking the light needs a different fix. Recognizing the cause helps you choose a tool that will not create a new problem.
Start with a lens profile
Many editing apps offer a lens correction or optics panel with an option to apply a profile automatically. When the app recognizes the camera and lens information saved with the file, it may select a profile designed to reduce that combination’s characteristic distortion and vignetting. Turn the option on and off while looking at the whole image, then inspect straight lines and the corners at a closer view.
An automatic profile is a starting point, not a verdict. Profiles may be unavailable, may not match an adapted or unusual lens, or may apply a stronger correction than the picture needs. Some apps let you adjust the strength of distortion and vignetting correction separately. If an image already has pleasing corner shading, you can keep the geometric correction while reducing the brightness correction.
Check the frame edges after applying a profile. Straightening bowed lines can shift pixels and leave empty areas at the borders, which the app may hide by cropping. Make sure the crop has not cut off a hand, sign, doorway or other important detail.
Make manual adjustments with a reference
If no suitable profile is available, find a straight line near the edge of the frame and use it as a reference. Move the manual distortion slider slowly until the line looks natural. Compare more than one edge: a correction that improves one corner may make another look strained, especially if the lens effect is uneven or the scene contains few reliable straight lines.
Keep perspective controls separate in your mind. Distortion tools address curved lines; perspective tools address lines that converge or lean because of camera position and angle. You may need both for a building photograph, but adjust them one at a time so you can see what each change does. Avoid forcing every line into perfect alignment if that makes people or familiar objects look stretched.
For vignetting, raise the brightness of the corners only as much as the image needs. Watch for a pale rim around the frame, increased visibility of noise in dark areas, or uneven color where the correction is strongest. If your app provides controls for midpoint or feathering, use them to make the transition gradual. A subtle adjustment is often less noticeable than an attempt to make the entire frame identical in tone.
Place corrections in your editing workflow
Apply lens corrections early, before making a final crop or carefully placed local adjustments. Correcting distortion can move features within the frame, while correcting vignetting can change how bright the edges appear relative to the subject. Once those changes are settled, refine the crop and continue with exposure, color and any selective edits.
Work non-destructively when your app allows it: retain the original file and save adjustments in an editable project or sidecar file. This makes it easy to compare versions or revisit a correction that seemed right on a small screen. If you are editing a set made with the same camera and lens, you can try copying the correction settings across the group, then inspect each image individually. Different focal lengths, subjects and framing may call for different choices.
Review the result, not just the sliders
Before exporting, compare the corrected image with the original at both fit-to-screen and close-up views. Look for natural-looking lines, intact edges and corners that no longer compete with the subject. If the correction makes faces near the edge appear stretched or removes useful context, back it off. Technical accuracy is not the only goal; the image should still read clearly.
In documentary or explanatory work, be especially mindful of changes that could affect how viewers understand the scene. Routine optical corrections can improve clarity, but a tight automatic crop might exclude relevant context. Review the final exported file as well as the edit preview to confirm that the framing and corner tones are what you intended.


