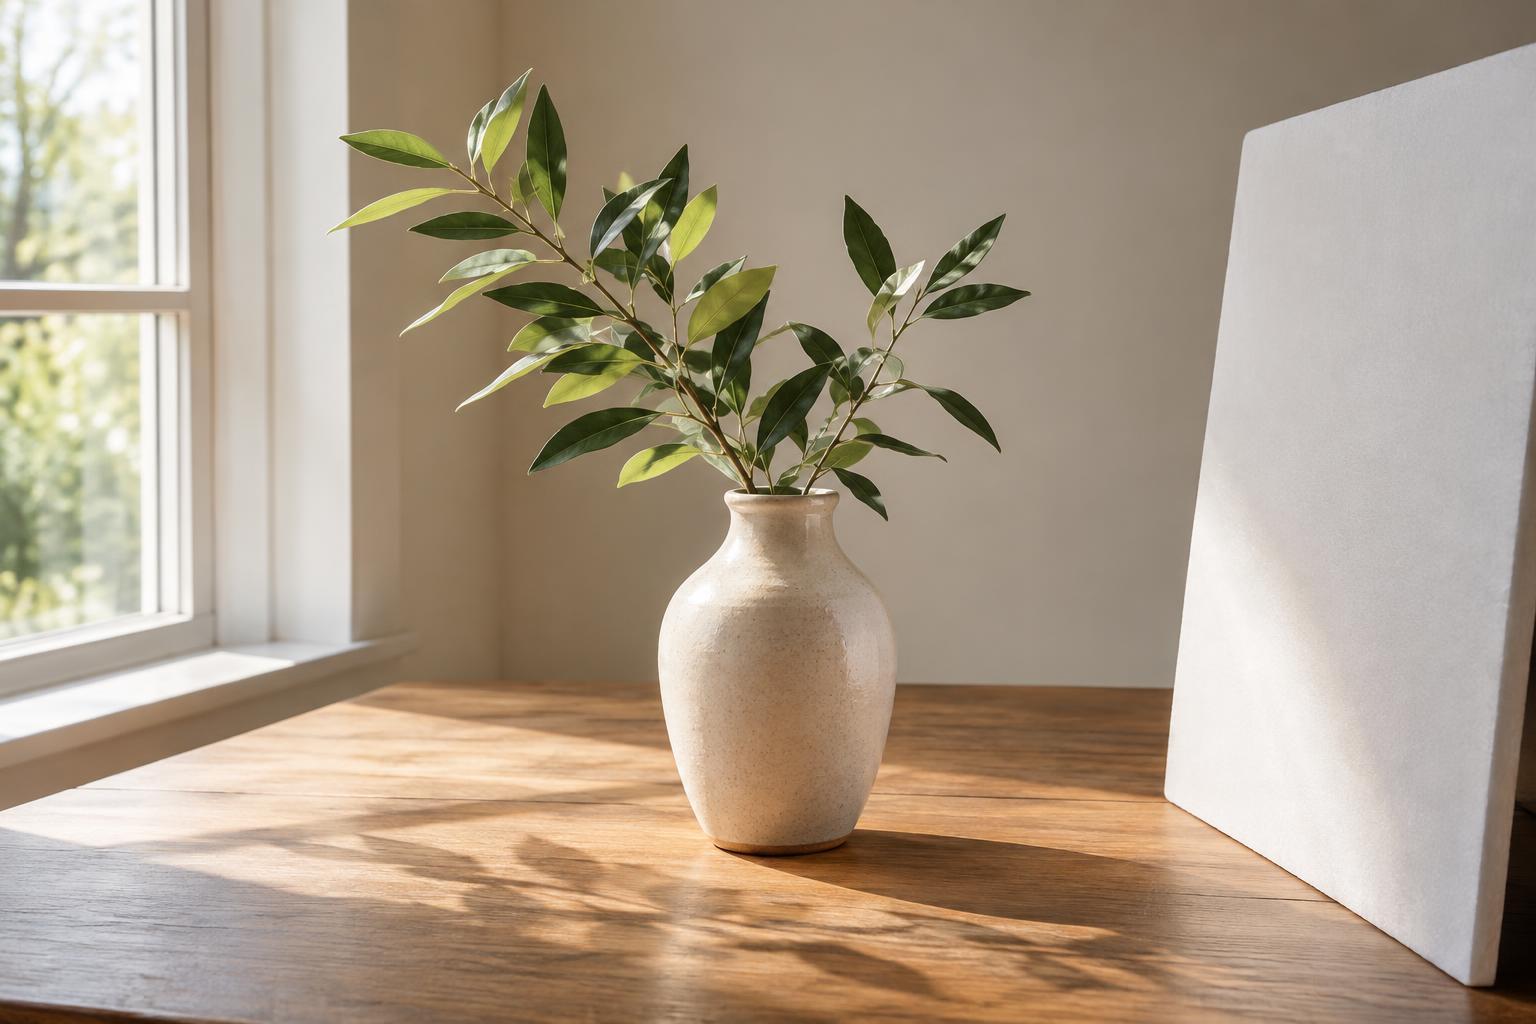
What fill light changes
When light comes mainly from one direction, the side of a subject facing away from it receives less illumination. Those shadows give a photograph shape, but they can also hide a face, a product detail, or an important part of a scene. Fill light raises the brightness of the shadowed areas without necessarily changing the direction of the main light. A reflector is a simple way to do this: it catches light from a window, the sky, a lamp, or the sun and sends some of it back toward the subject.
Think of fill as a choice about contrast, not a requirement to remove every shadow. Strong shadows may suit a dramatic portrait or help reveal texture. Gentler shadows can make a face easier to read or keep detail visible in a still life. Before reaching for a reflector, decide which shadow contains information you want the viewer to see. That decision will guide where you place the reflecting surface and how much light you add.
Start with the light already in the scene
Identify the main light source and look at the subject from the camera position. If a window lights the left side of a person’s face, try placing a reflector to their right, angled toward the darker cheek. Start close enough to see a change, then move it away if the effect is too strong. Watch the shadow as you move the surface: the useful position is the one that sends light where it is needed, not simply the one opposite the window.
A reflector usually produces softer fill when it appears large from the subject’s point of view. Bringing it closer makes it appear larger and often makes its effect more noticeable. A small card may brighten one detail, while a larger panel can lift shadows across a face or object. The reflector also needs light to catch. In a dim corner with no useful light reaching it, a white panel may make little difference. Repositioning the subject near a window may help more than changing the panel.
Choose a surface for the look you want
A purpose-made reflector is convenient, but a white wall, foam board, sheet of paper, or pale tabletop can serve the same basic purpose. Matte white surfaces tend to give a restrained, neutral-looking fill. A silver surface often sends back more light and may produce brighter highlights; its effect can become distracting if it is too close or aimed directly at shiny skin or objects. A black panel does the opposite of a reflector: it blocks some bounced light and can deepen shadows when a scene looks too flat.
Nearby surfaces can also change the color of the light they return. A green wall may add a green cast to the shadow side of a face, while warm-colored wood can make those shadows look warmer. If accurate color matters, look for a neutral surface or check a test image before continuing. Automatic white balance may alter the overall image, but it cannot always make two differently colored light sources look the same. A surface does not have to be perfectly neutral to be useful; a color cast may be part of the atmosphere if you notice it and choose it deliberately.
Make small adjustments and compare
Take a frame without fill, then add the surface and take another without changing the camera position. Compare the shadowed area, the highlights, and the overall sense of depth. If the subject begins to look evenly lit but flat, move the reflector farther away or turn it slightly aside. If only one bright patch appears, try a larger or more matte surface. For a portrait, check for an unnaturally bright lower face if the reflector is held beneath the subject.
Fill can change how you choose an exposure, but it will not rescue highlights that are already too bright. When photographing in strong sun, moving the subject into open shade can be a better first step than trying to reflect enough light into deep shadows. In softer light, such as near a window, a modest reflector may be all that is needed. Review both the camera display and the actual scene when possible: a display can help you compare frames, while looking at the subject helps you notice where the reflected light is falling.
Keep the method appropriate to the story
In a controlled portrait or still life, you can move the subject and reflector until the lighting supports the image you have in mind. In documentary work, even a small lighting adjustment may affect how a moment unfolds. Consider whether directing someone, introducing equipment, or changing the scene is appropriate to the story you intend to tell. If a photograph is meant to show an unaltered situation, let that purpose guide your choices and describe any meaningful intervention accurately when context calls for it.
A reflector is most useful when its effect serves what matters in the frame. It can reveal detail in a shadow while preserving the main light’s direction, and an ordinary nearby surface may accomplish the same thing without added equipment. Start by observing the light, make one adjustment at a time, and stop when the shadow says enough.


