Start with the source of blur
A sharp photograph depends on more than a steady camera. During an exposure, the camera may move, the subject may move, or both may move. Focus can also land in the wrong place. These problems can look similar at first glance, but they call for different solutions. Image stabilization is designed chiefly to counter small movements of the camera. It is not a general-purpose sharpness setting.
Camera shake becomes easier to notice when you use a longer lens, hold the camera at arm’s length, or leave the shutter open longer. A slight turn of your hands can shift the scene across the frame while the exposure is being recorded. Stabilization detects some of that movement and compensates for it. It can make a shutter speed usable that would otherwise be difficult to handhold, but it cannot guarantee a sharp result on every attempt.
How stabilization systems help
Optical stabilization moves elements inside a compatible lens to counter camera movement. In-body image stabilization moves the camera’s sensor. Some camera and lens combinations coordinate both systems. Their effectiveness varies with the equipment, focal length, type of movement, and shooting conditions. A stabilized viewfinder can also make it easier to hold a composition steady, especially with a long lens.
Digital or electronic stabilization works differently. Commonly used for video, it adjusts or crops the recorded image to reduce visible movement. That can smooth footage, but the crop changes framing, and it does not replace a suitable shutter speed for a still photograph. Check what your camera’s stabilization options actually do rather than assuming that similarly named settings produce the same result.
What stabilization cannot freeze
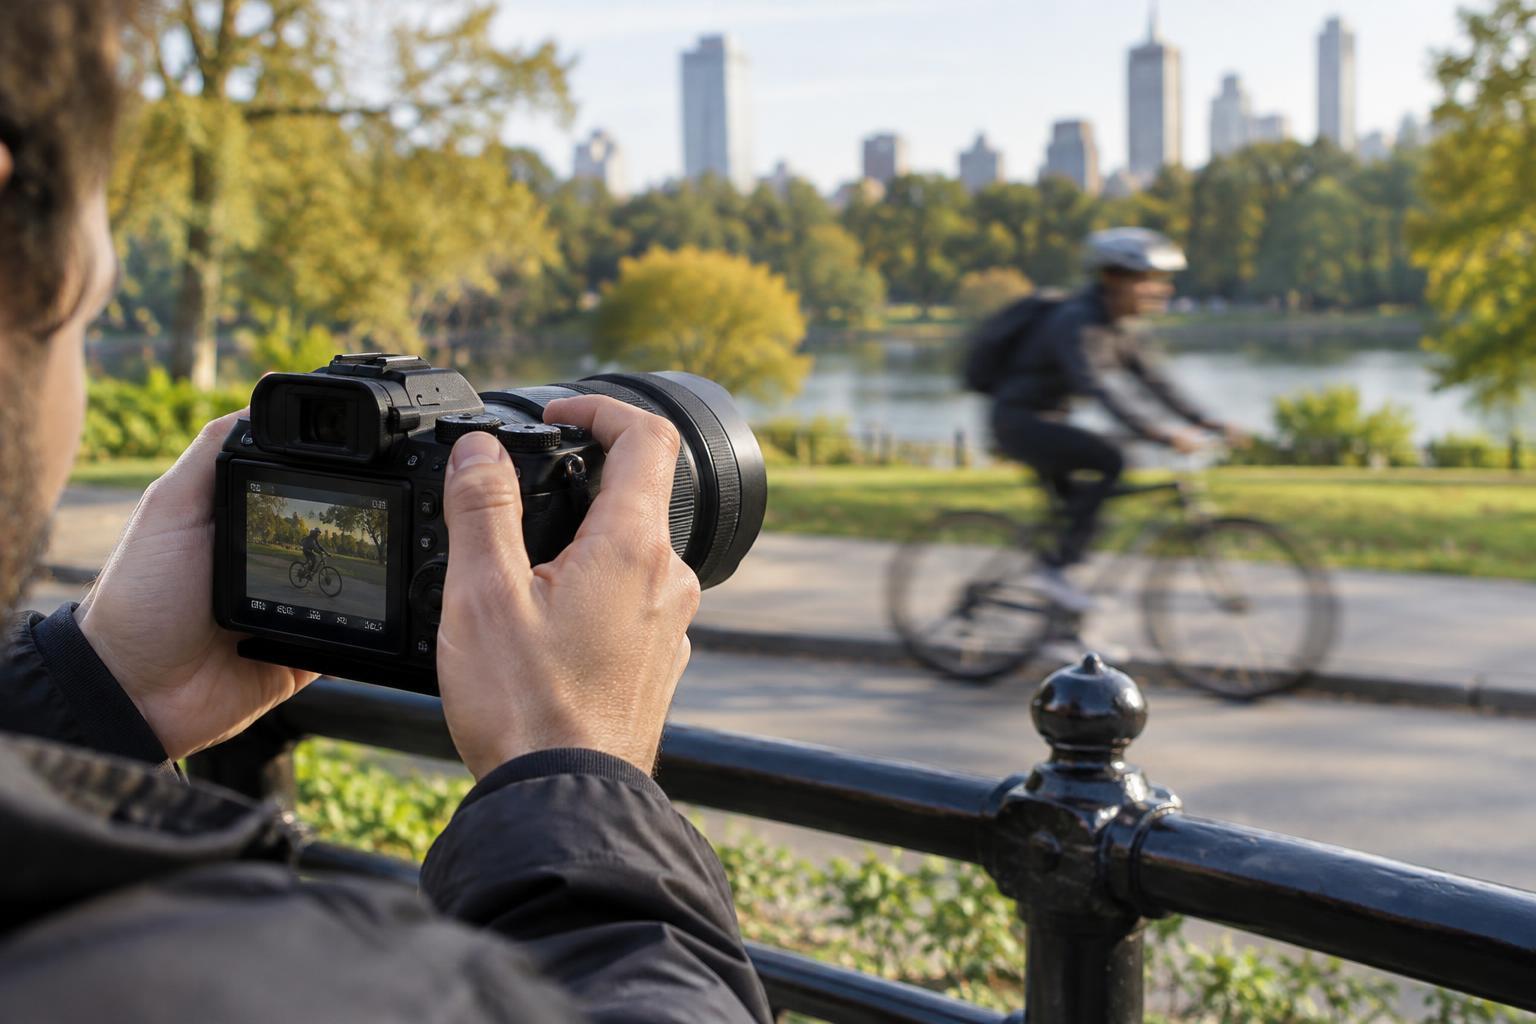
Imagine photographing a person talking in a dim room. Stabilization may keep the background and furniture crisp while the person’s hands or face blur. That is because the system responds to camera movement, not to the person moving independently within the scene. To record a moving subject sharply, you generally need a faster shutter speed. Depending on the light, that may mean using a wider aperture, a higher ISO setting, or additional light, with trade-offs in depth of field, image noise, or the look of the scene.
Stabilization also cannot correct focus placed behind the subject, motion that exceeds the system’s ability to compensate, or blur introduced by a dirty lens or shooting through a smeared window. Nor does a tripod automatically solve every problem: a subject can move during a tripod-mounted exposure, and touching the camera can introduce vibration. Some stabilization systems have settings intended for tripod use, while others may need to be switched off; follow the guidance for your particular equipment.
Choose shutter speed for the photograph you want
For a still subject, stabilization gives you more flexibility to use a slower shutter speed when handholding. The familiar suggestion to start near the reciprocal of the lens’s focal length is only a rough starting point for camera shake, not a promise of sharpness. Sensor resolution, how you hold the camera, and how large you view the result all affect what you notice. Longer exposures remain harder to handhold even with stabilization.
For an active subject, set shutter speed according to its motion first. A walking person may need a different setting from a still portrait; a rapidly moving animal or vehicle may require a faster one. If you intend to pan with the subject, some systems offer a mode that avoids fighting the deliberate sweep of the camera. You can also choose a slower shutter intentionally to convey motion. In that case, a sharp subject against a streaked background—or the reverse—may serve the story better than an entirely frozen frame.
Test your setup and diagnose the result
A practical test is more useful than treating a published stabilization rating as a personal guarantee. Photograph a stationary, detailed subject at several shutter speeds, making multiple frames at each setting. Compare results at the viewing size you expect to use, first with stabilization enabled and then, if practical, without it. This shows how your equipment and handholding technique work together. Brace your elbows, press the shutter gently, and take a moment to settle your stance before shooting.
When a photograph looks soft, inspect its clues before changing settings. If stationary edges across the frame show similar streaks, suspect camera movement. If the background is crisp but a person is blurred, suspect subject movement. If one plane is sharp but your intended subject is not, check focus and depth of field. Image stabilization is valuable precisely because it addresses one common cause of blur; knowing its limits helps you choose the right fix for the others.


