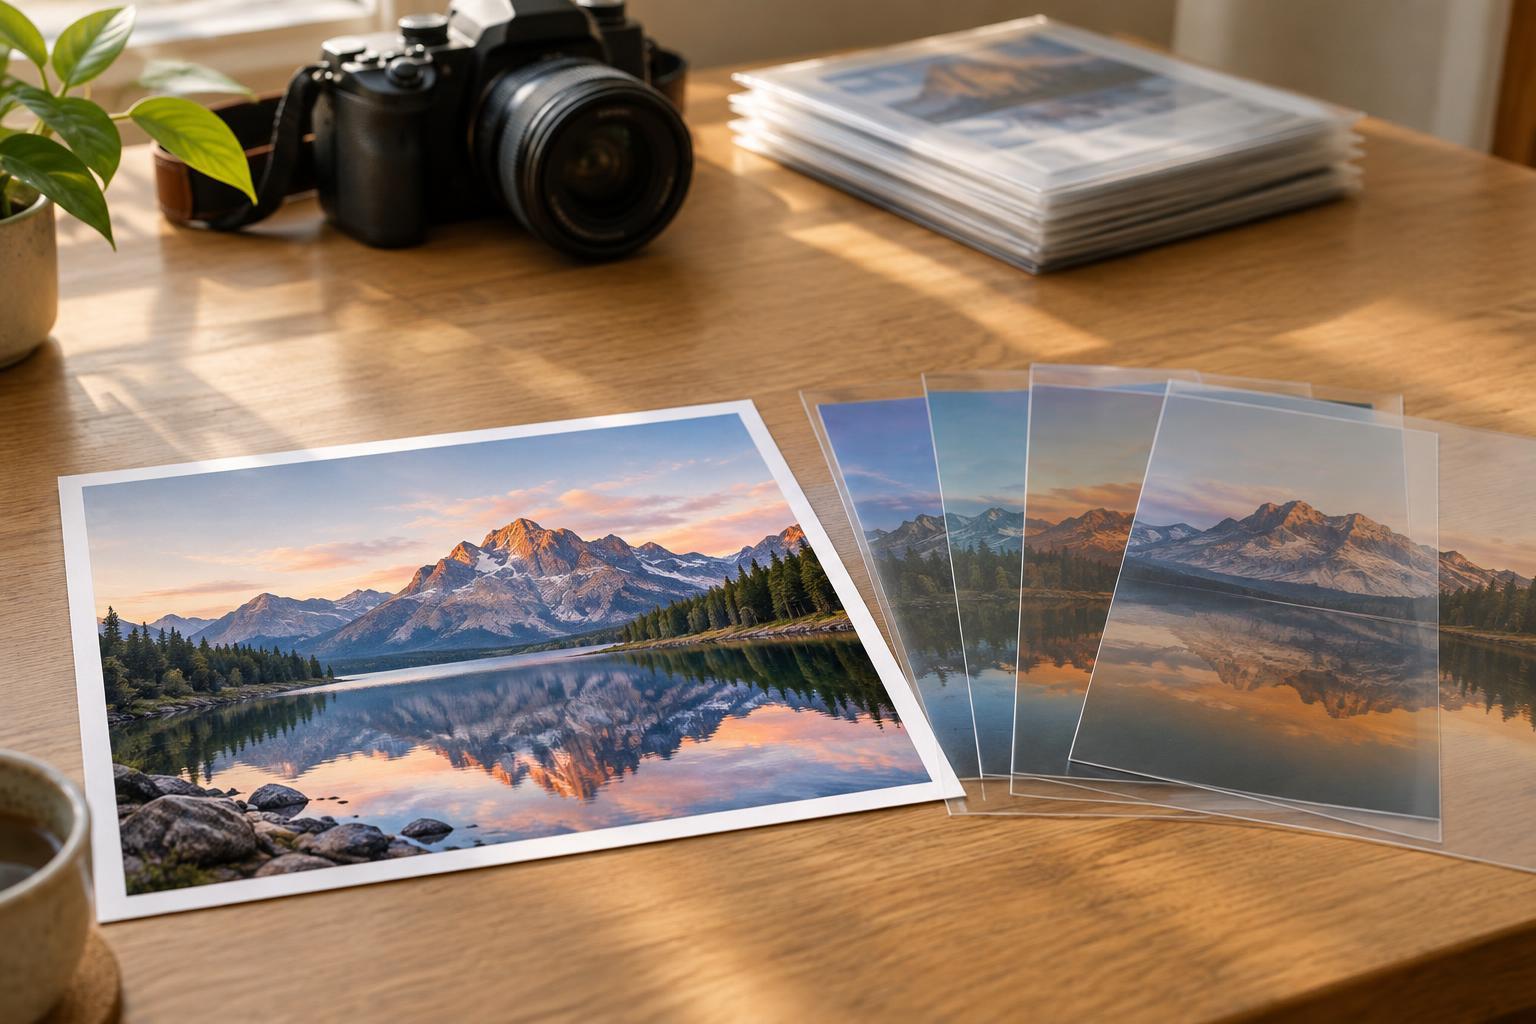
What non-destructive editing actually means
Non-destructive editing means making changes without permanently replacing the image data you started with. Instead of rewriting the original each time you adjust exposure or crop a frame, your software keeps a set of instructions describing those changes. You see an edited preview, but you can return to the starting image or revise an earlier decision. This freedom is useful when your taste changes, a client requests another crop, or an image needs to work in a different context.
The approach applies to both RAW files and JPEGs, though they offer different amounts of flexibility. A RAW file generally retains more capture information for substantial tonal and color adjustments. A JPEG has already been processed and compressed by the camera, so extreme changes may reveal artifacts sooner. Neither format is automatically protected: what matters is whether your workflow preserves the source file and stores your adjustments separately.
Understand where your edits live
Many photo applications save adjustment instructions in a catalog, a separate sidecar file, or both. Those instructions may include exposure settings, color changes, a crop and local adjustments. The original image stays where it was imported, while the application uses the instructions to display the edited version. If you move files outside the application, it may lose track of them; if you discard a catalog or sidecar, you may lose your edits even though the original photo remains safe.
Layer-based editors provide another route. An adjustment layer can change contrast or color without directly altering the image beneath it, and a mask can limit that change to selected areas. Keeping a source layer untouched makes it easier to compare results. Some operations still depend on how a particular application handles files, so check whether a tool creates an editable layer or permanently changes pixels before applying it to your only working copy.
Build a workflow you can reverse
Start by importing photos into a consistent folder structure and leaving the originals unchanged. Make your first adjustments to overall exposure, white balance and contrast, then refine color and local areas as needed. Crop with a tool that records the crop as an instruction rather than deleting the excluded pixels. Compare your edit with the original periodically; a short pause can make heavy-handed adjustments easier to notice.
When you want two different treatments, create separate edit versions rather than repeatedly overwriting one result. You might keep a color edit and a black-and-white interpretation, or make distinct crops for a wide layout and a portrait layout. Give versions clear names if your software supports them. Once an edit is ready to share, export a new JPEG or other appropriate delivery file. Think of that export as a finished copy, not as the place to store your only editable work.
Keep recovery and organization in mind
Non-destructive editing is not the same as a backup. Your original may remain untouched, but a damaged drive could still take the original, edit instructions and exports with it. Keep copies of the source files and the catalog or sidecars needed to reconstruct your edits. If you work with layered documents, include those too. Periodically check that a restored project opens correctly and that its image files are linked; a backup is most useful when you know what it contains.
Simple naming and selection habits also help. Mark rejects and selects without deleting uncertain frames immediately, and keep the relationship between a source photo and its exported versions understandable. Before archiving a project, locate its originals, editable instructions and final exports. This small check can save time when you revisit an image months later and need a new size, a gentler edit or a different crop.
Preserve meaning as well as pixels
An intact original lets you review not only how you edited an image, but also what your choices might have changed about its meaning. A tighter crop can remove context; strong contrast can draw attention to one detail while hiding another. For documentary or informational images, compare the final version with the source and ask whether viewers would take away a materially different impression of the scene.
There is no single adjustment recipe that fits every photograph. The practical goal is a process you can inspect and revise: retain the source, make editable changes, keep identifiable versions, export copies for specific uses and protect the files needed to return to your work. That gives you room to experiment without making your first decision your last.


