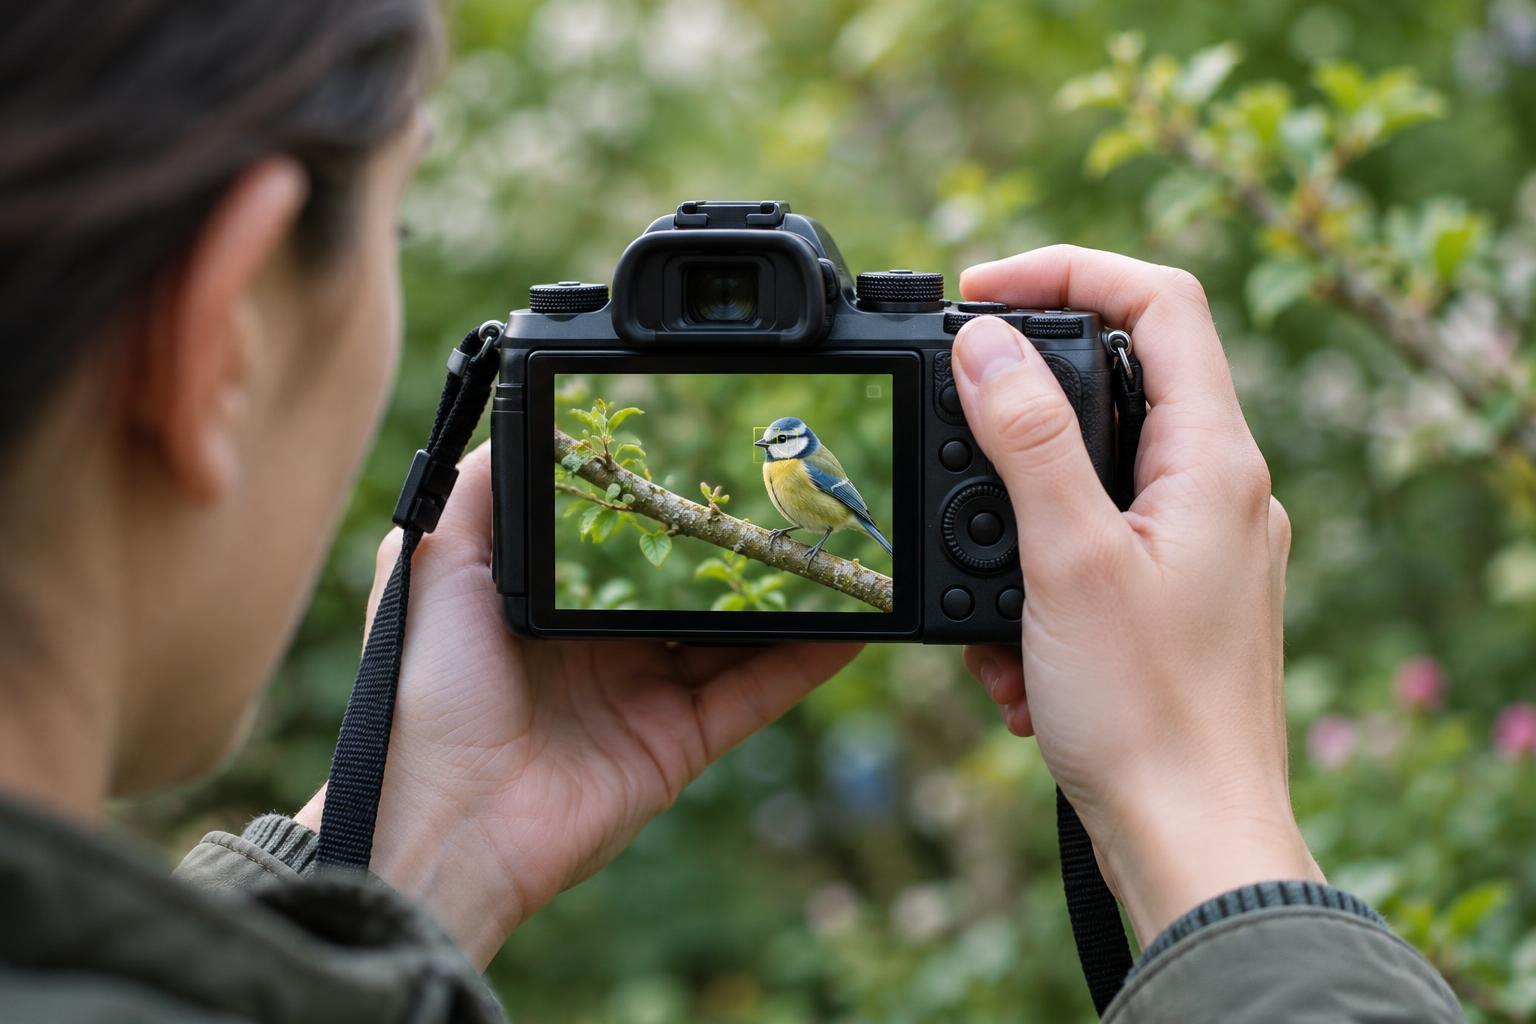
Decide what needs to be sharp
Before choosing a focus point, decide where you want a viewer to look first. In a portrait, that may be the nearer eye. In a photograph of someone working with their hands, it might be the tool and the action around it. If several objects compete for attention, autofocus cannot decide which one best serves your story; it can only respond to the subject information and settings you give it.
Focus matters most when the area that appears sharp is narrow, as it often is with a wide aperture or a close subject. In those situations, focusing on a nose instead of an eye, or on a branch just in front of a bird, can visibly change the picture. With a smaller aperture and a more distant subject, there may be more room for slight focus-placement errors. Start by identifying the important detail, then place the focus area over it.
Choose a focus area that fits the scene
Camera names vary, but many offer a small selectable point, a larger zone, and an automatic area that can search across much of the frame. A small point gives you direct control when the subject is still and you can aim precisely. A zone can be easier to keep on a moving subject, though the camera may choose a different object within that zone. An automatic area can be convenient, but it may favor a nearby or visually prominent subject rather than the one you intended.
Subject-detection features, including face or eye detection, can help with people and some animals when your camera offers them. Treat detection as an aid, not a guarantee: check which face or eye is selected when more than one is visible. If the camera repeatedly chooses the background or foreground, switch to a smaller area or reposition the selected point. The goal is not to use the most advanced mode; it is to use a mode whose behavior you can predict.
Place the point without losing your composition
Move the selected autofocus point to the part of the frame where your subject sits. This lets you focus on an off-center subject without automatically putting them in the middle. Depending on the camera, you may use a touchscreen, joystick, directional controls, or a dial. Learn how to return the point to its default position so an old setting does not surprise you during the next photograph.
Another approach is to focus with the subject in the center, hold focus, and then recompose. It can work well when the subject stays still and there is enough depth of field. At close distances with a wide aperture, however, turning the camera after focusing may shift the sharpest area away from the intended detail. Selecting a point near the subject’s final position is often more dependable. If your camera allows it, separating autofocus activation from the shutter button is another option, but it takes practice to use consistently.
Match the focusing behavior to subject movement
For a subject that stays in place, a single-focus setting generally acquires focus and holds it while you maintain the appropriate control. For a moving subject, continuous autofocus is designed to keep updating focus. Some cameras can also track a selected subject across the frame. Begin tracking on the subject you mean to photograph, and watch for the focus area jumping to an obstacle or another person.
Remember that a blurry moving subject is not always an autofocus failure. If focus is on the right place but the subject moves during a long exposure, a faster shutter speed may be needed to reduce motion blur. Camera movement can cause blur too. Separating these problems helps: missed focus may leave something else in the frame sharp, while motion blur often appears as a streak or directional smearing.
Check the result and build a repeatable habit
After a difficult shot, review the image at a magnification that lets you inspect the important detail. Ask whether your chosen subject is sharp, whether something in front of it drew the camera’s attention, and whether movement affected the result. The small image on a camera screen can hide missed focus, so zoom in when the photograph matters. If available, a viewfinder focus indicator can help while shooting, but the captured image is the better check.
Practice with one still subject and one moving subject. Change only the focus area or focusing behavior between attempts, then compare the results. Before each new scene, make a short mental check: What is the intended subject? Where is it in the frame? Is it moving? Which focus setting gives me the clearest control? That habit makes autofocus a deliberate part of visual storytelling rather than a decision left entirely to the camera.


