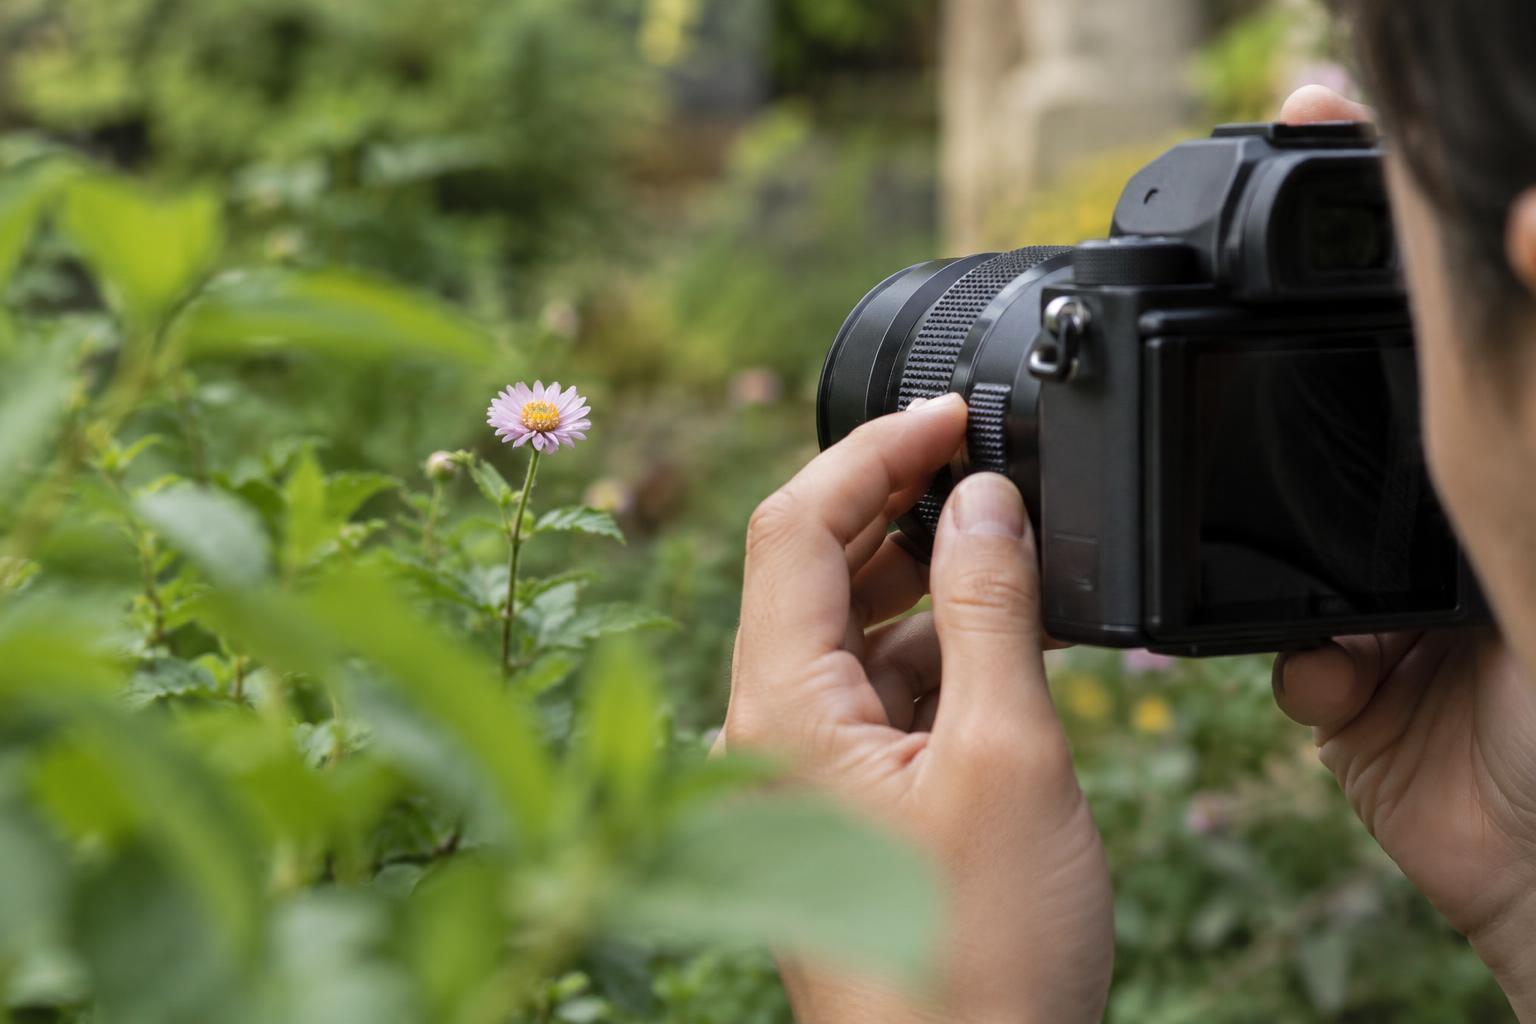
What manual focus gives you
Manual focus lets you choose where the lens focuses instead of asking the camera to choose for you. It is not automatically more precise than autofocus. Its advantage is control: you can place focus on a particular detail and keep it there when the camera might switch to something else.
Start by deciding what needs to look sharp in the finished photograph. For a portrait, that might be the eye nearest the camera. For a close-up of an object, it might be a label or a distinctive edge. Once you know your intended point of attention, you can judge whether the camera has focused where you want it.
When to switch from autofocus
Manual focus is useful when the camera repeatedly selects the wrong subject. A fence or window between you and your subject may draw autofocus away from what matters. So can a busy foreground, a small subject against a detailed background, or a scene with little contrast for the camera to detect. Try moving or changing your autofocus point first; if the camera still struggles, manual focus may be simpler.
It also works well for scenes that stay in one place. With a camera on a tripod, you can focus carefully on a landscape detail, an object, or a planned composition and then make several frames without the focus shifting between shots. If you change your distance from the subject or move the subject, check focus again.
Moving subjects are a different challenge. Modern autofocus can often follow movement more effectively than a person turning a focus ring. Manual focus may still suit a predictable action if you focus in advance on a spot the subject will pass through. Take the photograph as the subject reaches that spot, and allow for some missed frames.
How to set focus deliberately
Put the camera or lens into manual focus mode, then choose a stable shooting position. Look at the part of the scene that must be sharp. If your camera offers an enlarged live view, magnify that area on the screen or in the electronic viewfinder and turn the focus ring until its fine details look clearest. The enlarged view helps you inspect focus; it does not change the framing of the photograph you will capture.
Focus peaking can provide another clue by highlighting edges the camera judges to be sharp. Treat it as a guide rather than a guarantee. Its highlights may cover a broad area, especially when the lens is stopped down or the display is small. When accuracy matters, compare the highlighted area with a magnified view of your intended subject.
Focus changes with distance. If you focus on an eye and then lean forward, the eye may no longer be sharp, particularly at close range or with a wide aperture. Recheck after moving the camera or subject. Likewise, focus before making any final adjustment that changes the camera-to-subject distance, rather than assuming an earlier setting still holds.
Use aperture to give yourself room
Aperture affects how much of the scene appears acceptably sharp around the focused distance. A wider aperture creates a narrower margin for error; a smaller aperture generally gives you more room. For a close-up, even a small shift can move your chosen detail outside that sharp-looking area. If you can, take a test frame and inspect it before continuing.
A smaller aperture is not a cure for every missed shot. It may require a slower shutter speed or a higher ISO setting to maintain the same exposure. A slow shutter can record movement even when focus is correct. Choose settings that suit the subject: a stationary subject on a tripod offers more flexibility than a person who is moving.
Check the photograph, not just the focus aid
After taking a frame, play it back and enlarge the area you meant to keep sharp. Do not rely only on the full-screen preview, where a slight miss can be hard to see. Look for recognizable fine detail in your chosen subject, then compare it with nearby areas. If the background is crisp but your subject is not, focus may have landed behind the intended point.
If nothing looks sharp, consider movement as well as focus. A shake-blurred photograph may show streaking or doubled edges across much of the frame; a moving subject can blur while a stationary background remains clear. Take another frame with a steadier camera position or a faster shutter speed if the light and your settings allow it. Reviewing a few frames while you are still at the scene is more useful than discovering a focus problem after you leave.


